安装指南
JumpServer 离线安装包支持的系统与架构如下:
表 1 离线安装包
| OS/Arch | Architecture | Linux Kernel | Offline Name |
|---|---|---|---|
| linux/amd64 | x86_64 | >= 4.0 | jumpserver-ce-5.1.0-x86_64.tar.gz |
1. 安装部署
本节说明离线安装包的下载与安装步骤。
- 社区版的离线安装目前只支持 linux/amd64 架构, 其他架构需要: 申请企业版试用
linux/amd64
将离线包上传至服务器并解压:
从飞致云社区 下载最新的 linux/amd64 离线包, 并上传到部署服务器的 /opt 目录
cd /opt
tar -xf jumpserver-ce-5.1.0-x86_64.tar.gz
cd jumpserver-ce-5.1.0-x86_64
# 根据需要修改配置文件模板, 如果不清楚用途可以跳过修改
cat config-example.txt
# JumpServer configuration file example.
#
# If you don't understand the purpose, you can skip modifying this configuration file, the system will automatically fill in
# Complete parameter documentation /jumpserver/manual/ops/env

################################# Image Configuration #################################
#
# Pull JumpServer application images from this prefix. For example,
# IMAGE_PULL_PREFIX=registry.example.com/jumpserver pulls core from
# registry.example.com/jumpserver/core:${VERSION}. Infrastructure images such
# as Redis, PostgreSQL and OpenBao keep their own image names.
#
# IMAGE_PULL_PREFIX=

# Scope of IMAGE_PULL_PREFIX: jumpserver only rewrites JumpServer application
# images; all also pulls infrastructure images from the prefix and restores
# their canonical local tags before Compose starts.
#
# IMAGE_PULL_SCOPE=jumpserver

# Local runtime namespace for JumpServer application images. This does not
# select a remote registry; images are tagged locally before Compose starts.
#
# NAMESPACE=jumpserver

# The connection to docker.io in China will timeout or the download speed will be slow, enable this option to use Huawei Cloud image acceleration
# Legacy mirror configuration. IMAGE_PULL_PREFIX takes precedence when set.
#
# DOCKER_IMAGE_MIRROR=1

# Image pull policy Always, IfNotPresent
# Always means that the latest image will be pulled every time, IfNotPresent means that the image will be pulled only if it does not exist locally
#
# IMAGE_PULL_POLICY=Always

# Optional infrastructure image override. Keep this pinned for reproducible
# online and offline installations.
# MINIO_IMAGE=minio/minio:RELEASE.2025-09-07T16-13-09Z

############################## Installation Configuration #############################
#
# JumpServer database persistence directory, by default, recordings, task logs are in this directory
# Please modify according to the actual situation, the database file (.sql) and configuration file backed up during the upgrade will also be saved to this directory
#
VOLUME_DIR=/data/jumpserver

# Encryption key, please ensure that SECRET_KEY is consistent with the old environment when migrating, do not use special strings
# (*) Warning: Keep this value secret.
# (*) Do not disclose SECRET_KEY to anyone
#
SECRET_KEY=

# The token used by the component to register with core, please keep BOOTSTRAP_TOKEN consistent with the old environment when migrating,
# Do not use special strings
# (*) Warning: Keep this value secret.
# (*) Do not disclose BOOTSTRAP_TOKEN to anyone
#
BOOTSTRAP_TOKEN=

# Secret used to sign Kael user delegation requests to Core. The installer
# generates this value once and preserves it during upgrades.
# (*) Warning: Keep this value secret.
# (*) Do not disclose CHAT_AI_DELEGATION_SECRET to anyone
#
CHAT_AI_DELEGATION_SECRET=

# Log level INFO, WARN, ERROR
#
LOG_LEVEL=ERROR

# The network segment used by the JumpServer container, please do not conflict with the existing network, modify according to the actual situation
#
DOCKER_SUBNET=192.168.250.0/24

# ipv6 nat, no need to enable under normal circumstances
# If the host does not support ipv6, enabling this option will prevent the real client ip address from being obtained
#
USE_IPV6=0
DOCKER_SUBNET_IPV6=fc00:1010:1111:200::/64

################################# DB Configuration ####################################
# For external databases, you need to enter the correct database information, the system will automatically handle the built-in database
# (*) The password part must not contain single quotes and double quotes
#
DB_ENGINE=postgresql
DB_HOST=postgresql
DB_PORT=5432
DB_USER=postgres
DB_PASSWORD=
DB_NAME=jumpserver

# Host port bindings for the built-in database. The defaults only listen on
# localhost. In a two-node HA deployment, set the corresponding EXPOSE_HOST
# to each node's fixed HA IP. MYSQL_EXPOSE_* also applies to built-in MariaDB.
#
POSTGRESQL_EXPOSE_HOST=127.0.0.1
POSTGRESQL_EXPOSE_PORT=5432
MYSQL_EXPOSE_HOST=127.0.0.1
MYSQL_EXPOSE_PORT=3306

# If external MySQL needs to enable TLS/SSL connection, refer to /jumpserver/installation/security_setup/mysql_ssl
#
# DB_USE_SSL=true

################################# Redis Configuration #################################
# For external Redis, please enter the correct Redis information, the system will automatically handle the built-in Redis
# (*) The password part must not contain single quotes and double quotes
#
REDIS_HOST=redis
REDIS_PORT=6379
REDIS_PASSWORD=

# If you are using external Redis Sentinel, please manually fill in the following content
#
# REDIS_SENTINEL_HOSTS=mymaster/192.168.100.1:26379,192.168.100.1:26380,192.168.100.1:26381
# REDIS_SENTINEL_PASSWORD=your_sentinel_password
# REDIS_PASSWORD=your_redis_password
# REDIS_SENTINEL_SOCKET_TIMEOUT=5

# If external Redis needs to enable TLS/SSL connection, refer to /jumpserver/installation/security_setup/redis_ssl
#
# REDIS_USE_SSL=true

################################# Access Configuration ################################
# The service port provided to the outside, if it conflicts with the existing service, please modify it yourself
#
HTTP_PORT=80

################################# HTTPS Configuration #################################
# Refer to /jumpserver/installation/proxy for configuration
#
HTTPS_PORT=443
# SERVER_NAME=your_domain_name
# SSL_CERTIFICATE=your_cert
# SSL_CERTIFICATE_KEY=your_cert_key
#

# Nginx file upload and download size limit
#
CLIENT_MAX_BODY_SIZE=4096m

################################# Component Configuration #############################
# Component registration use, by default, register to the core container, the cluster environment needs to be modified to the cluster vip address
#
CORE_HOST=http://core:8080
PERIOD_TASK_ENABLED=true

# Core Session definition,
# SESSION_COOKIE_AGE indicates how many seconds the session expires after idling,
# SESSION_EXPIRE_AT_BROWSER_CLOSE=true means that the session expires as soon as the browser is closed
#
# SESSION_COOKIE_AGE=86400
SESSION_EXPIRE_AT_BROWSER_CLOSE=false

# Trusted DOMAINS definition,
# Define the trusted access IP, please modify according to the actual situation, if it is a public IP, please change to the corresponding public IP,
# DOMAINS="demo.example.com:443"
# DOMAINS="172.17.200.191:80"
# DOMAINS="demo.example.com:443,172.17.200.191:80"
DOMAINS=

# Configure the components that do not need to be started, by default all components will be started, if you do not need a certain component, you can set {component name}_ENABLED to 0 to turn it off
# CORE_ENABLED=0
# KAEL_ENABLED=0
# CELERY_ENABLED=0
# KOKO_ENABLED=0
# CHEN_ENABLED=0
# WEB_ENABLED=0
# VIDEO_WORKER_ENABLED=0
# CELERY_PRIVILEGED=false

# VIDEO_WORKER_ENABLED only controls the local container. To send recordings
# from KoKo to a worker, set ENABLE_VIDEO_WORKER=true. For the local container,
# VIDEO_WORKER_HOST defaults to the Compose service URL below. For a separately
# deployed worker, set VIDEO_WORKER_ENABLED=0 and use its reachable URL instead.
# The installer enables this only with USE_XPACK=1. With USE_XPACK=0, KoKo
# submission is forced off. USE_XPACK selects deployment mode, not licensing.
# ENABLE_VIDEO_WORKER=true
# VIDEO_WORKER_HOST=http://video-worker:9000

# JDMC is installed as a mandatory host-side systemd service when USE_XPACK=1.
# Community Edition does not download or install JDMC. JDMC inherits VOLUME_DIR
# from the installer and has no separate enable/disable switch.

# Koko enables font smoothing to optimize the experience.
#
JUMPSERVER_ENABLE_FONT_SMOOTHING=true

# Koko Web Proxy external port. Keep this value consistent with the Endpoint Web proxy port.
# WEB_PROXY_ALLOWED_HOSTS is a comma-separated allowlist of Website asset hosts.
# Keep localhost and 127.0.0.1 so Koko can access its Web session control API.
#
KOKO_WEB_PROXY_PORT=5001
WEB_PROXY_ALLOWED_HOSTS=localhost,127.0.0.1

################################# XPack Configuration #################################
# XPack package, invalid setting in open source version
#
KOKO_SSH_PORT=2222
RAZOR_RDP_PORT=3389
MAGNUS_PORT=5525

# XRDP is optional and disabled by default. Set it to 1 only when needed.
XRDP_ENABLED=0
# XRDP_PORT=3390

################################## Other Configuration ################################
# The terminal uses the host HOSTNAME as the identifier, automatically generated during the first installation
#
SERVER_HOSTNAME=${HOSTNAME}

# Use built-in SLB, if the client IP address obtained by the Web page is not correct, please set USE_LB to 0
# When USE_LB is set to 1, use the configuration proxy_set_header X-Forwarded-For $remote_addr
# When USE_LB is set to 0, use the configuration proxy_set_header X-Forwarded-For $proxy_add_x_forwarded_for
USE_LB=1

# The current running version number of JumpServer, automatically generated after installation and upgrade
#
TZ=Asia/Shanghai
CURRENT_VERSION=

# Maximum seconds to wait for an internal database or Redis container to become
# healthy during installation, upgrade, backup, and restore.
CONTAINER_HEALTH_TIMEOUT=300

# Anonymous installation lifecycle telemetry. Set to false to disable it.
INSTALLATION_TELEMETRY_ENABLED=true

################################ OpenBao Configuration ################################
# Vault storage is disabled by default.
VAULT_ENABLED=false
VAULT_BACKEND=openbao
VAULT_OPENBAO_ADDR=http://openbao:8200
VAULT_OPENBAO_MOUNT_POINT=pam
VAULT_OPENBAO_TOKEN=
VAULT_OPENBAO_TIMEOUT=10

# OpenBao SSH CA has an independent endpoint and least-privilege token. It may
# use the same OpenBao cluster as Vault KV or a separate external cluster.
SSH_CA_ENABLED=false
SSH_CA_OPENBAO_ADDR=http://openbao:8200
SSH_CA_OPENBAO_TOKEN=
SSH_CA_OPENBAO_MOUNT_POINT=ssh-client-signer
SSH_CA_OPENBAO_ROLE=jumpserver
SSH_CA_OPENBAO_TTL=300
SSH_CA_OPENBAO_TIMEOUT=10
SSH_CA_OPENBAO_VERIFY_TLS=true
# Optional comma-separated CIDRs seen by the target sshd.
SSH_CA_OPENBAO_SOURCE_ADDRESS=

# Set to true when enabled features use external OpenBao clusters or HA
# endpoints. The installer then validates VAULT_OPENBAO_ADDR and/or
# SSH_CA_OPENBAO_ADDR independently, and does not initialize a built-in service.
# 启用的功能使用外部 OpenBao 或 HA 地址时设为 true;installer 将分别校验
# VAULT_OPENBAO_ADDR 与 SSH_CA_OPENBAO_ADDR,不再初始化内置 OpenBao。
OPENBAO_EXTERNAL=false

OPENBAO_RAFT_NODE_ID=openbao
OPENBAO_RAFT_API_ADDR=http://openbao:8200
OPENBAO_RAFT_CLUSTER_ADDR=http://openbao:8201
OPENBAO_RAFT_BOOTSTRAP=true
# Additional Raft nodes must set OPENBAO_RAFT_BOOTSTRAP=false and receive a
# protected copy of openbao/init.json from the bootstrap node before startup.
# OPENBAO_RAFT_RETRY_JOIN=http://openbao-1:8200,http://openbao-2:8200

OPENBAO_UNSEAL_KEY_SHARES=5
OPENBAO_UNSEAL_KEY_THRESHOLD=3
OPENBAO_UI_BIND=127.0.0.1
OPENBAO_UI_PORT=8200
OPENBAO_CLUSTER_BIND=127.0.0.1
OPENBAO_CLUSTER_PORT=8201

JUMPSERVER_ENABLE_WALLPAPER=true
# 安装
./jmsctl.sh install

# 启动
./jmsctl.sh start
执行 ./jmsctl.sh install 后,安装器会自动完成以下步骤:
- 检查配置文件:首次安装时会依据
config-example.txt在/opt/jumpserver/config下生成config.txt,并检查loki/promtail.yml、openbao/server.hcl等配置文件。 - 安装并配置 Docker:自动完成 Docker 的安装、配置与启动。
- 安装并配置 JumpServer:生成
SECRET_KEY、BOOTSTRAP_TOKEN、CHAT_AI_DELEGATION_SECRET;确认持久化目录(默认/data/jumpserver,安装后不可更改);配置数据库(默认使用内置 PostgreSQL 16,使用外部 PostgreSQL 时要求 16 及以上);配置 Redis(内置、外部或 Sentinel);确认对外访问端口(默认 HTTP 80);选择语言与时区。 - 加载 Docker 镜像:从离线包的
images/目录加载各组件镜像,并导入虚拟应用离线资源。 - 初始化数据库:启动 core、postgresql、redis 容器,并自动执行数据库迁移。
- 安装 JDMC:企业版会额外在宿主机安装 JDMC 组件,详见下一节。
其他管理命令:
# 停止
./jmsctl.sh stop

# 重启
./jmsctl.sh restart

# 升级
./jmsctl.sh upgrade

# 卸载
./jmsctl.sh uninstall

# 帮助
./jmsctl.sh --help
常用的管理命令还包括 ./jmsctl.sh status(查看服务状态)、./jmsctl.sh tail(查看日志)、./jmsctl.sh backup_db(备份数据库)等,完整清单可执行 ./jmsctl.sh --help 查看。
2. JDMC 组件
从 v5 版本起,安装器会随 JumpServer 一并安装 JDMC(设备管理控制台),用于管理堡垒机所在服务器。JDMC 不需要单独安装,也不作为容器运行,而是以宿主机 systemd 服务的方式部署,服务名为 jdmc.service:可执行文件位于 /opt/jdmc/jdmc,配置文件位于 /data/jdmc/jdmc.yaml。
JDMC 的启停随 JumpServer 一并管理,执行 ./jmsctl.sh start、stop、restart、status、down 时会同时管理 JDMC 服务;查看 JDMC 日志使用以下命令:
./jmsctl.sh tail jdmc
也可以使用 systemctl restart jdmc 单独重启 JDMC 服务。
版本与持久化目录
- JDMC 为企业版组件,仅在使用企业版(
USE_XPACK=1)时安装;社区版不会下载或安装 JDMC。 - JDMC 会继承安装器配置的
VOLUME_DIR,其数据目录位于VOLUME_DIR的同级jdmc目录下,因此无需为了升级而迁移持久化路径。修改已安装环境的VOLUME_DIR不会自动迁移已有的 JDMC 数据,需要先停止服务再手动迁移对应目录。
JDMC 支持的操作系统如下:
表 2 JDMC 支持的操作系统
| 操作系统类型 | 支持的版本 | 架构 | 内核版本要求 |
|---|---|---|---|
| Debian 系 | Debian 11 及以上、Ubuntu 20.04 及以上 | x86_64 / aarch64 | 4.0 及以上 |
| RedHat 系 | RHEL 8 及以上、CentOS 8 及以上、Rocky Linux 8 及以上 | x86_64 / aarch64 | 4.0 及以上 |
| 国产操作系统 | 统信 UOS 服务器版、麒麟 Kylin 服务器版 | x86_64 / aarch64 / loong64 | 4.0 及以上 |
3. 环境访问
执行以下命令管理服务,启动完成后进行访问:
地址: http://<JumpServer服务器IP地址>:<服务运行端口>
用户名: admin
密码: ChangeMe
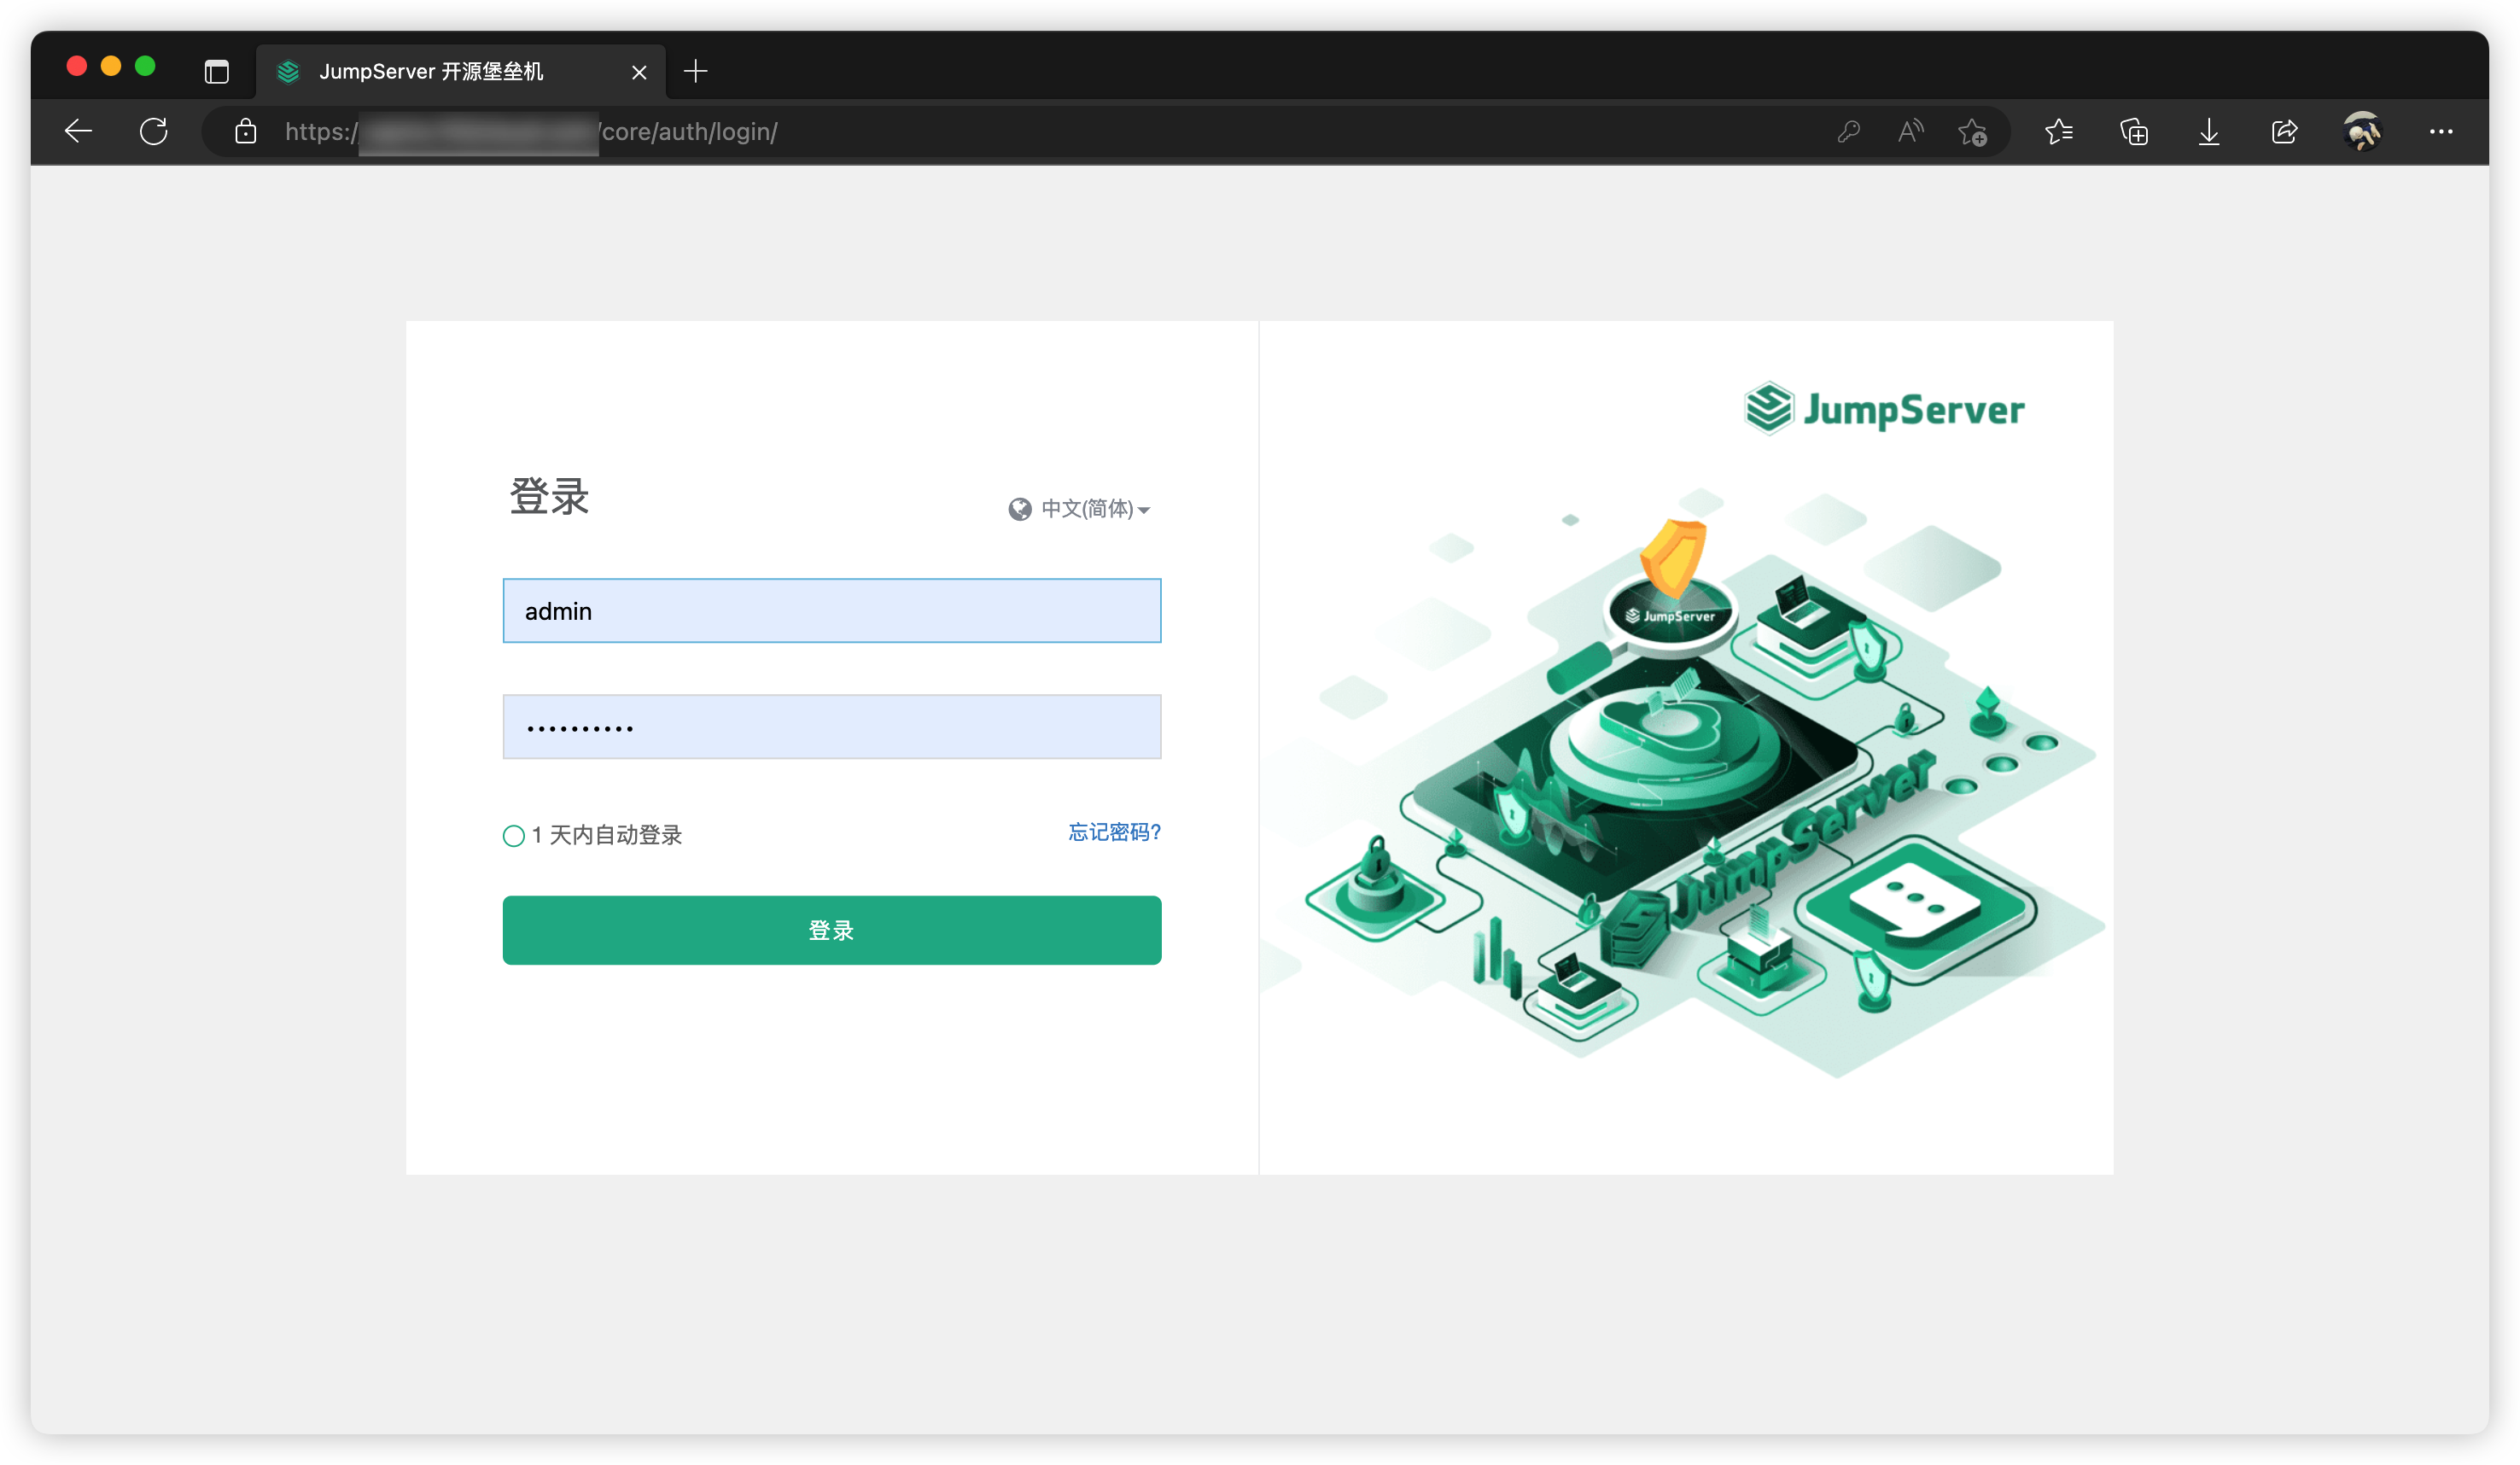
图 1 登录页面